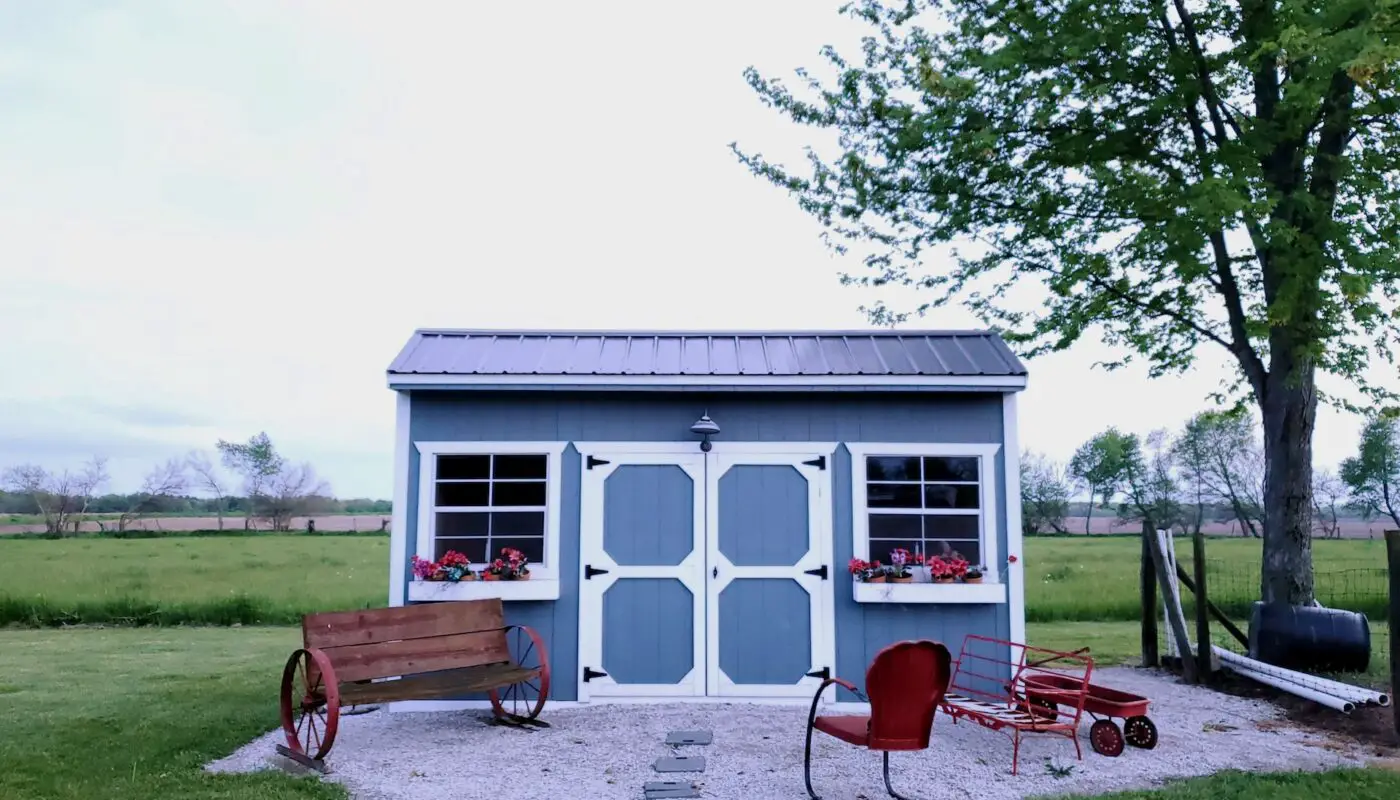
When it comes to constructing a reliable shed, establishing a solid foundation is crucial. A strong base guarantees your structure’s structural integrity and adds to its long-term durability. Following this step-by-step guide, you can lay the groundwork to ensure your 20×20 shed is sturdy and long-lasting, standing strong against the test of time.
Step 1: Site Selection:
Before you start digging, choose the optimal location for your shed. Look for an area that is level and well-drained. Avoid low-lying spots where water might accumulate, which could lead to moisture-related issues over time.
Step 2: Gather Your Tools and Materials:
To begin the foundation-building process, gather the necessary tools and materials. You will need:
- Measuring tape
- Wooden stakes
- String or twine
- Shovel
- Crushed stone or gravel
- Concrete blocks or piers
- Pressure-treated lumber
- Bubble level
- Compactable gravel
Step 3: Mark the Perimeter:
Using the measuring tape, mark the dimensions of your shed on the ground using wooden stakes. Connect the stakes with string or twine to outline the perimeter clearly. This provides a visual guide for excavating the foundation area.
Step 4: Excavate the Area:
Now, it’s time to dig. With your shovel, carefully excavate the marked area. The goal is to create a level and flat surface that matches the dimensions of your shed. Remove any debris or vegetation from the area.
Step 5: Add Crushed Stone:
Add a layer of crushed stone or gravel to the excavated area to enhance drainage and prevent moisture buildup. Spread it evenly across the entire foundation space. Use a rake to ensure a uniform layer.
Step 6: Level the Foundation:
Place concrete blocks or piers at the corners and midpoints of your shed’s dimensions. Make sure they are level and aligned with the string boundaries. These blocks or piers will serve as the base for the pressure-treated lumber.
Step 7: Install Pressure-Treated Lumber:
Lay pressure-treated lumber beams across the concrete blocks or piers, creating a grid-like pattern. Use a bubble level to make sure the beams are perfectly level. These beams will act as the primary support for your shed’s floor.
Step 8: Check for Levelness:
Continuously check and adjust the levelness of the pressure-treated lumber as you install it. This precise attention to detail will contribute to the overall stability of your shed.
Step 9: Fill with Compactable Gravel:
Fill the interior of the foundation grid with compactable gravel. This layer provides additional support and helps with water drainage. Compact the gravel using a tamper or a heavy tool to ensure a solid and even surface.
Step 10: Frame the Floor:
With the foundation in place, you can start building your shed’s floor frame. Use pressure-treated lumber to construct a sturdy frame within the foundation grid. Secure the corners with galvanized screws or nails.
Step 11: Build the Floor Deck:
Once the frame is secure, attach plywood sheets on top to the floor deck. Make sure the plywood edges are flush with the frame edges. Secure the plywood with screws or nails, ensuring a secure and even surface for your shed’s interior.
Step 12: Double-Check Everything:
Before proceeding, take a final look at your foundation and floor. Confirm that everything is level, secure, and aligned properly. This thorough inspection ensures you’re starting your shed on a solid base.
Final Thoughts About Building a 20×20 Shed Foundation
By diligently following these steps, you’re on your way to constructing a sturdy foundation for your 20×20 shed. A solid foundation provides stability and prevents potential issues that can arise from a poorly constructed base. With the proper tools, materials, and attention to detail, your shed will be well-prepared to weather the elements and serve its intended purpose for years. Remember, a strong start leads to a strong finish – your shed’s foundation is no exception.
