by
by 
Gel nail polish delivers strikingly glossy, damage-resistant manicures that far outlast regular polish. But while salon gel manicures produce pristine results, it takes some technique tweaking to perfect pro-quality applications at home.
You can yield brilliant, enduring shine, rivaling the professionals with the right supplies and some learned skills. Read on for hand-transforming tips and tricks to maximize the longevity of your gel polish.

1. Start with Novel Basics
Standard liquid polish requires shaking bottles to mix pigments before a messy, streaky brush-on application that chips within days. Gel nail polish innovation presents polish and top coat blended in an even, quick-drying color. Painting layers cure under LED light activation to yield uniform, durable lacquer resisting dents and fading for 14+ days.
While starter kits provide everything to get gelling, individual components upgrade outcomes over time. Flexible tapered nail art brushes offer greater control than traditional brushes. Low-heat LED lamps prevent burning fingers during curing.
2. Perfect Thin Application Technique
Learning gel polish’s thicker viscosity takes practice controlling evenly. The paint is too thick, and everything bubbles and cracks. Too thin? Uneven streaky tinting results. Mastering a smooth, rapid gel flow nets professional results.
The trick? Repeated thin coats. Paint enough to cover each nail thinly using precise gel art brushes with finely tapered tips. Gel’s unique chemistry allows it to self-level flawlessly when cured, even if slightly uneven out of the gates.
Work across nails section by section instead of individually to allow consistent drying times between finely layered coats. Cure for 30 seconds under LED to set the gel base between fingers to prevent dragging uncured polish around during applications.
Finish by expertly gliding more gel top coat over color, sealing the full manicure in an impermeable glossy shield. Skipping this step guarantees premature peeling and chipping demise once exposed to daily wear and tear.
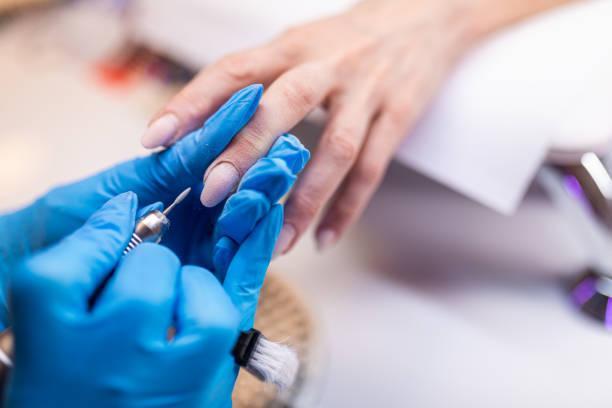
3. Push Cuticles First
Gently push back and remove any cuticle overgrowth surrounding nail plates using a cuticle pusher tool before gelling. Leaving cuticles folded over lifting edges guarantees premature peeling as daily movement works to polish layers loose over time.
Additionally, it’s crucial to ensure a smooth and long-lasting gel manicure by gently pushing back and removing any cuticle overgrowth surrounding the nail plates using a cuticle pusher tool before applying the gel. Leaving cuticles folded over or lifting at the edges can lead to premature peeling, as daily movement works to loosen polish layers over time.
4. Cleanse Before Coloring
Wipe nails with a nail prep dehydrator or alcohol before painting, eliminating residual skin oils that potentially repel layers from adhering cleanly to nail beds for the strongest bonds and color clarity.
Moreover, achieving a flawless and durable nail polish application involves thorough nail preparation. Before painting, it is essential to wipe the nails with a nail prep dehydrator or alcohol. This step eliminates residual skin oils, which could otherwise act as a barrier, potentially repelling polish layers from adhering cleanly to the nail beds.
5. Nourish Daily
Keep cuticles nourished daily with jojoba oil or specialized nail and cuticle serums. Focus oils surrounding nail edges near proximal folds instead of on top of polish, where slick oils degrade gel bonds over time, loosening polish coats.
Additionally, maintaining the health and appearance of cuticles is integral to a long-lasting and well-maintained gel manicure. Nourishing cuticles daily with jojoba oil or specialized nail and cuticle serums is beneficial. It’s essential to focus these healthy oils around the nail edges, especially near proximal folds, rather than applying them on top of the polish.
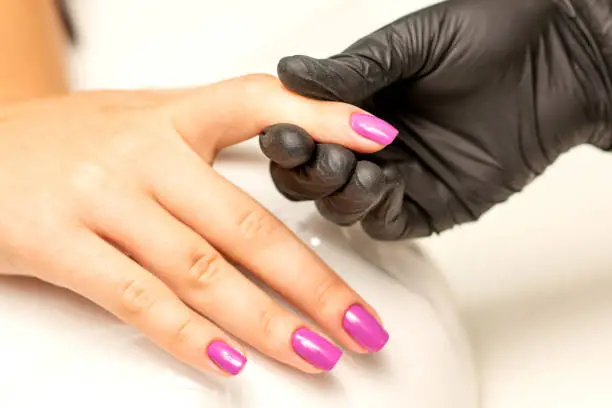
6. Graceful Gel Removal
When removing lasting layers after 2+ weeks without a single chip, avoid peeling or picking gel polish off nails. This can tear natural nail layers! Instead, gently dissolve gel bonds chemically to slide gels away intact.
Soak 100% cotton pads with pure acetone remover. Press pads over each gel-lacquered nail for 60 seconds before rubbing off the residue with a cuticle pusher tool to gently lift it from the nail plate without scraping damage. Wipe clean, then rehydrate in cuticle oil to counteract dehydration from chemical removers.
7. The Curing Light Conundrum
Choosing inadequate LED lamps leads to under-cured polish not reaching full strength before exposure to open air. Weak curing equals weak manicure wear losing luster fast. Research accurate wattage and authentic curing abilities before purchasing dubious dupes. Aim for trusted professional brands offering replaceable bulbs and smart sensor timers activating unique post-cure modes. This achieves proper nail plate penetration, fully catalyzing polish layers, unlike overpromising imitators.
With illuminating tips, elevating technique, plus quality curing technology, DIY gel polish manicures transform into brilliant salon-worthy masterpieces built to last beautifully. Define next-level nail goals with vivid lacquer that outperforms expectations daily, then dissolve damage-free when desired. Expert education unlocked lasting luxe color, realizing the polished potential of gel polish with minimal effort and simplified at-home systems.
Final Thoughts On Gel Nail Polish
The wonders of modern gel polish offer new possibilities for mastering magazine-worthy manicures minus the upkeep, expense, or damage of visiting nail salons constantly. But avoiding frustration over failed formulas or fast-fading color means implementing illuminated tips and quality components guaranteeing professional outcomes.
Now that technique and technology barriers no longer limit accessing striking, resilient, comfortably long-wearing lacquer looks, let gel polish grace your nails with brilliant ease at home. Say goodbye to chips and welcome shine that goes the distance with illuminating tricks optimizing gelling gratification!
Related Reading

The 5-Step Creative Process of Tattoo Artists – From Sketch to Skin
Plastic Lighting Design: 5 Bright Innovations
How Barbie Plastic Dolls Inspire Creative Artistry and Repainting?
Detroit Bead Museum Honors African Culture For 16 Amazing Years